05 Mar Arts and Crafts with Tea
Let’s get creative with tea!
Follow along as I demonstrate a series of different projects that you can do using tea as your main ingredient.
All the projects have been compiled into handy and easy to follow video tutorials that you can watch over on my YouTube channel.
You will nearly always have tea at hand, especially in an Irish household, even if you have no other art materials.
So this project is designed to be as low maintenance as possible!
There are several different parts to this project.
The first video shows you how to paint with tea
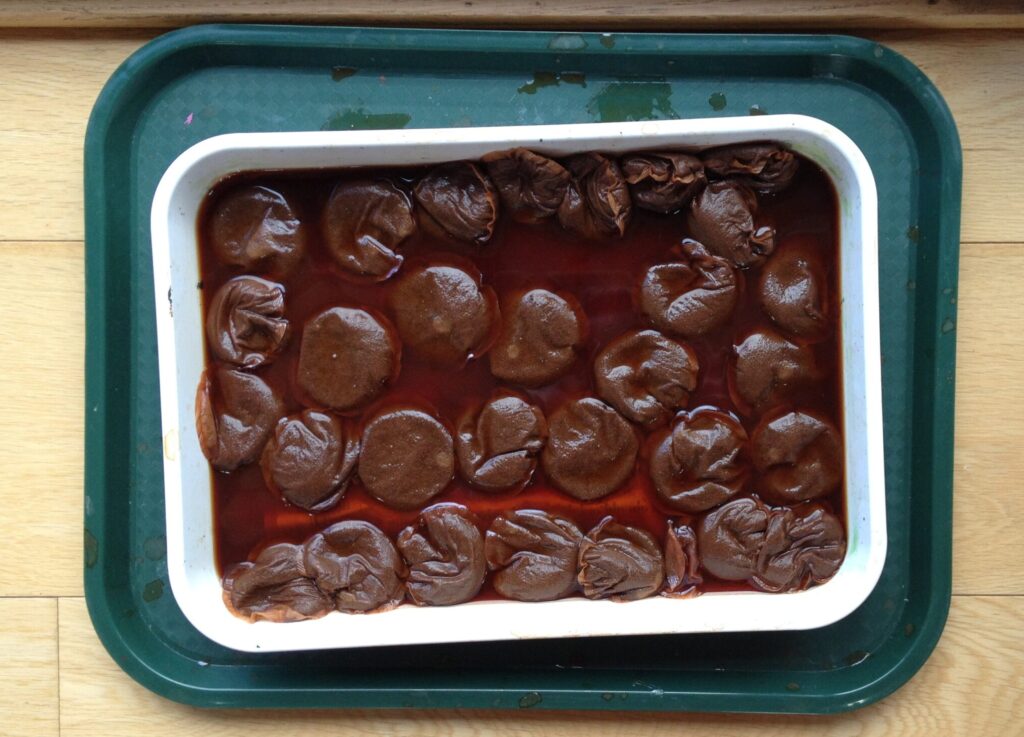
Before you start painting you need to make your tea paint.
Step 1 – Save all your used tea bags for a few days, you want to collect around 10/20 (the more teabags the darker your tea paint will be)
Step 2 – Boil the kettle and put all the used teabags into a large mug. Pour in the water and let it stew. Watch the water darken until its quite brown in colour.
Step 3 – Let the water cool until its safe to paint with. Take all the tea bags out and you are ready to get started.
Below I am using the tea bags to create tea paper!
Painting with Tea
You can watch along in the video below or if you prefer to read the step by step guide of how to paint with tea then keep on reading below.
In the video above I show you two ways that you can use tea in a craft project.
First of all follow the instructions above to make your tea paint. Remember that the more water you have the more diluted it’s going to be, about one cup of tea to 8 tea bags is a good measure.
If you find that your tea paint is not quite strong enough just put the tea bags back into the water and leave to soak longer.
Materials for this project
I am using what I have to hand in terms of materials for this tea painting project.
So I have some ordinary copy paper, envelopes which is a little thicker and we have some watercolour card.
I also have some pages from an old school atlas that I rescued from a charity shop and you can use things like cupcake cases or other paper you have in your craft box.
So as you’ll see we’re going to experiment with a few different materials.
Step 1 – Painting
Get your paint brush, but remember that tea has tannin in it it will dye the brush it slightly but you can clean them with some dish soap powder.
I recommend having a few different brushes sizes to play with.
And now you start painting.
You can paint anything that takes your fancy.
Start with simple shapes and experiment with adding more tea to your brush and layering over your marks.
This is a great rain day project, especially for keeping children entertained as once the kids start with it you can just leave them working on it.
You supply them with the materials and then they can just keep on going.
Even if you did no more steps in this tea painting project you would still have a wonderful creative afternoon ahead of you. (or a nice peaceful one as they paint)
The trick here is to also supply lots of different types of material to paint on so they can find the ones that work the best
If you have an old book page or something like newspaper (just make sure it’s not shiny) you can paint a section of it and then let that dry. You can then use all these painted samples to make other art projects later on.
Make a notebook with me
3 min 43 in the video
You can make a simple notebook using card for example from the back of a notepad, a cereal box or from a photo album like I do in the video.
Start with a rectangular shape and fold it over in half. This will be the cover of the notebook.
And then I am going to use some of my book pages and paper scraps to cut out some shapes, circles, ovals, triangles.
Glue these down to your notebook front cover to make a book page drawing. On mine I mad a little animal.
Leave this to dry and then you can paint over it with the tea paint!
You will start to see the contrast between the book page paper and the notebook cover, you can do as many layers as you like to get darker colours.
Drip art with tea
6 min 20 in the video
You can do some drip art with your tea paint too. Scrape the paint brush on the top of the paper and let it drip down the paper or card.
And paint some cup cake cases while you are at it.
Play around with splashing with your tea, dripping it, painting shapes that you can cut out later on. Layering up the paint to get different colours.
You can watch the full tea painting video below if you are a visual learner.
Let all your tea painting experiments dry and then come back for part two!
Art and Crafts with Tea: Part 2
Now that all of your different tea painted samples have dried its time to see what we can make with them.
You will probably notice that some are darker than others, remember the more concentrated your tea paint is the darker it will turn out.
If some parts are too light you can always go back and do a second coat of tea paint on them.
You can watch part two of the video lesson here
Here are some simple tips of what you can do with your tea paint artwork
Add some colour to them – use markers or colouring pencils to ‘finish’ the drawing.
I love using my black marker to trace over outlines and add patterns. This is probably my favourite method.
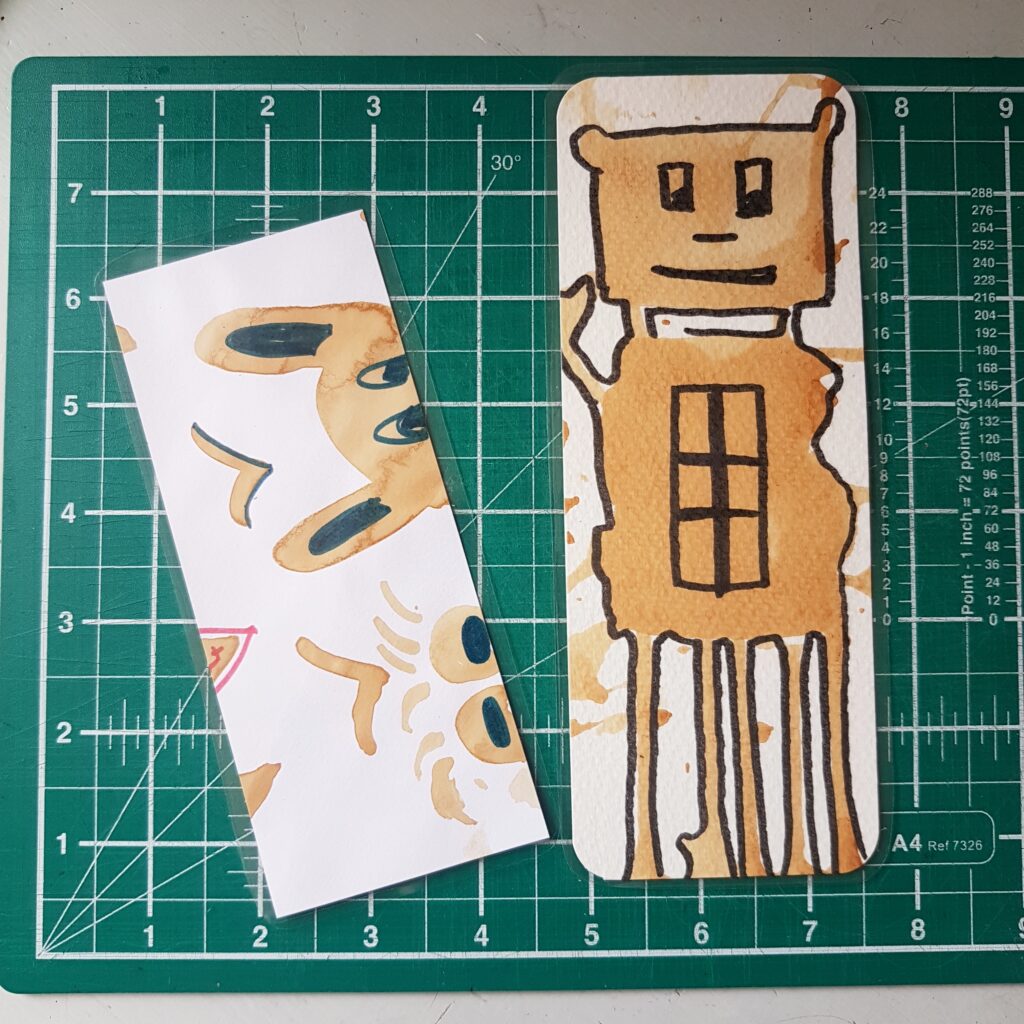
See what shapes are revealed in the tea painting. Especially if you used the drip painting method, you might be surprised by what you find.
For example one of mine turned into a robot!
You can turn them into bookmarks, use them as artworks for handmade cards or as you will see below, make notebooks, envelopes and more…
The two tea artworks below that I turned into bookmarks are laminated as this just helps them last a bit longer.
Make a notebook
That owl artwork that I created earlier in part one of our tea painting video is now going to turn into a notebook. At 3mins in the video
I have a super long stapler that is very handy for adding pages. I just cut the pages slightly smaller than the book cover and staple in the middle.
If you didn’t have a stapler you could use a hole punch and ribbon or if your book is small enough use an elastic band to hold the pages in.
And don’t forget you can also use some of your tea pages as pages in your notebook!
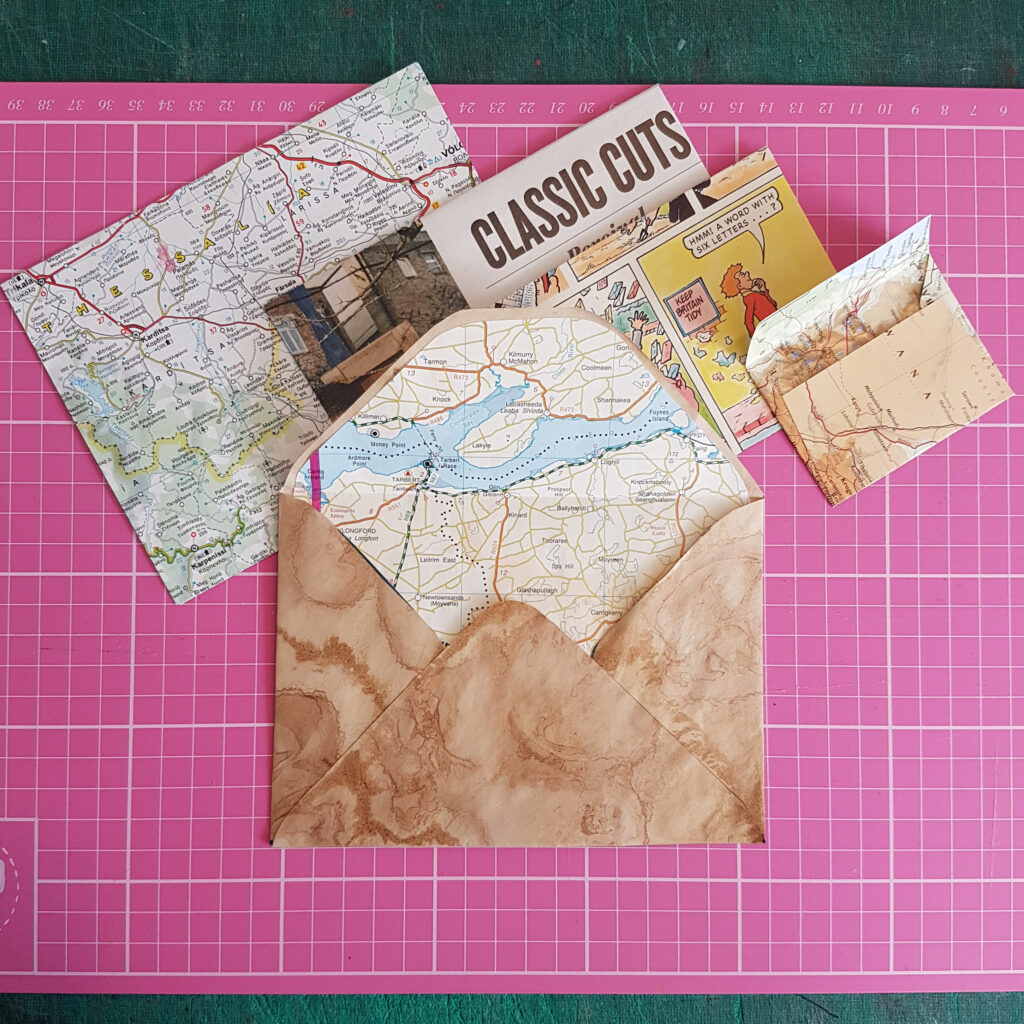
How to make your own Envelopes
An add on to this series on tea painting is using some of your tea pages to make your own envelopes.
Watch the video lesson on making your own envelopes here
Now obviously you can make envelopes using any paper. For examples I have used comic book pages ,old maps, newspapers and magazines in the past.
You can make them in all different sizes and in terms of materials this is a very simple DIY project.
You will need
Paper
Glue or sellotape or a glue stick
Scissors
Ruler
Pencil
And an existing envelope to use as a template
Step 1
The first step in making your own handmade envelope is to use an existing envelope. Carefully tear it apart and lay flat.
Now then lay it down on your piece of paper to make sure the envelope isn’t too big to start with. Then you trace around it and cut out.
Step 2
Now you need to fold your envelope along the crease lines. Make sure you know which side you want on the inside and which on the outside
Use a ruler or something straight and fold along the lines of your envelope template.
Step 3
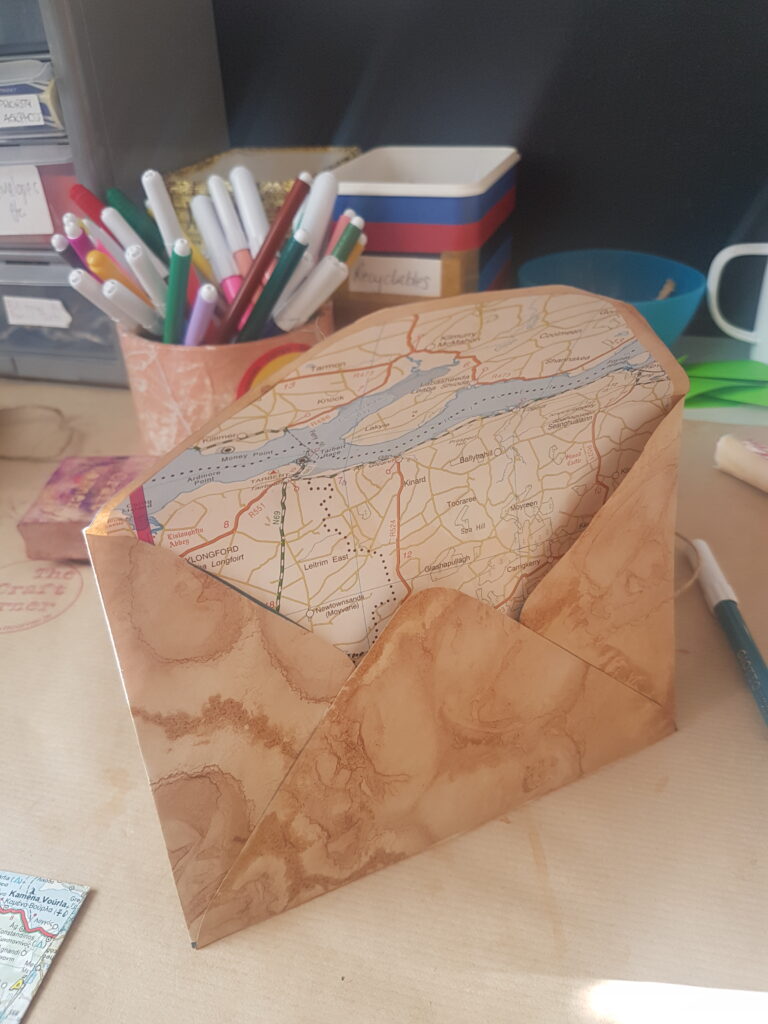
One of my favourite things to do with my handmade envelopes is to add a lining to it. Its also a great way of hiding anything you don’t want to see on the inside of the envelope.
You can use any paper for this, on the envelope I am making in the video I am going to use an old map page.
If you want to see how I make the envelope lining you can watch it in the youtube video here at 2m 42secs
Use your envelope template to just cut out the inner part of the envelope including the flap at the top. Make sure the lining is slightly smaller than the outer envelope
And then all you need to do is glue it down.
It also makes the envelope itself a little stronger and more sturdy
Use the ruler to bend any joints you have glued over again
Step 4
Now all that is left is to glue your envelope together. Look at where the envelope maker glued on your envelope template and use that as a marker to make your own glue lines.
Leave to dry and that’s it!
I hope you enjoyed this deep dive into the creative world of tea painting and all the cool projects that you can make along the way
If you liked this lesson make sure you are signed up to our mailing list to get future lessons into your inbox.
No Comments