15 May Spray painting with kids
One of our favourite projects from last summer was our mobile spray painting booth. I have a step by step youtube video tutorial below with all the details on how to make your own spray booth.
We started the booth as a giant cardboard box the year before, we then upgraded it to a big plastic bucket with a hole cut out of the top (as the box was hard for some of the smaller kids to use).
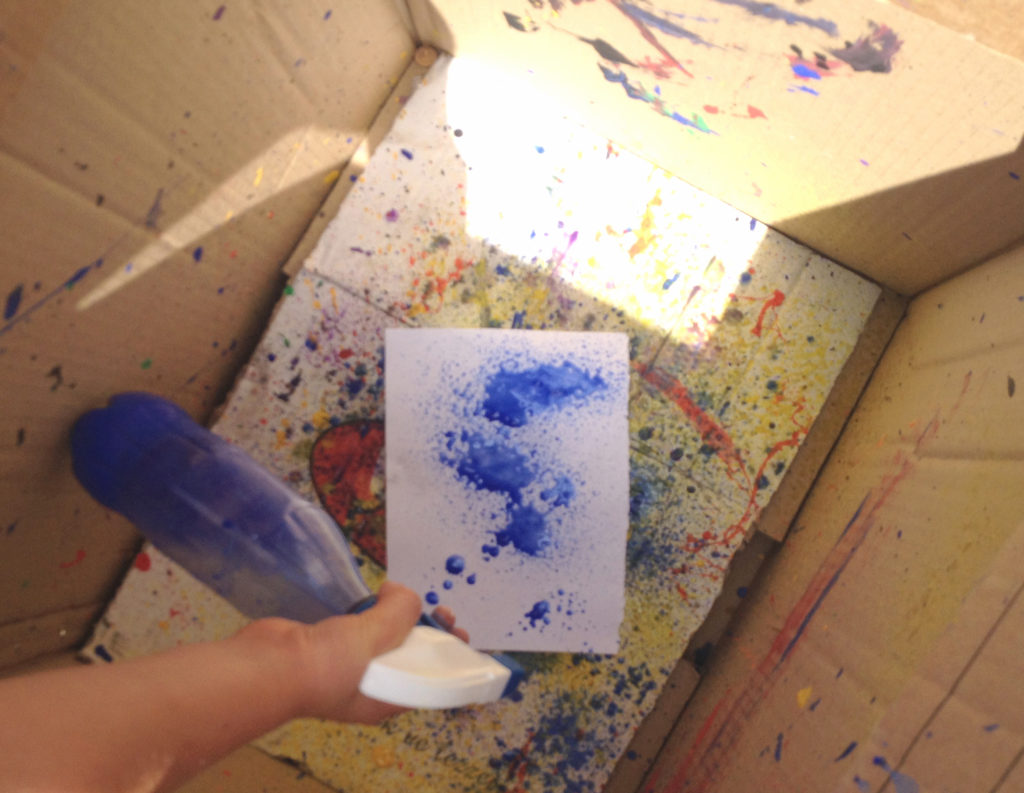
You can see it with and without its lid on in the photos. I found that the lid helped direct the kids as to where to spray, it also added a certain element of surprise as to what the end result was going to look like.
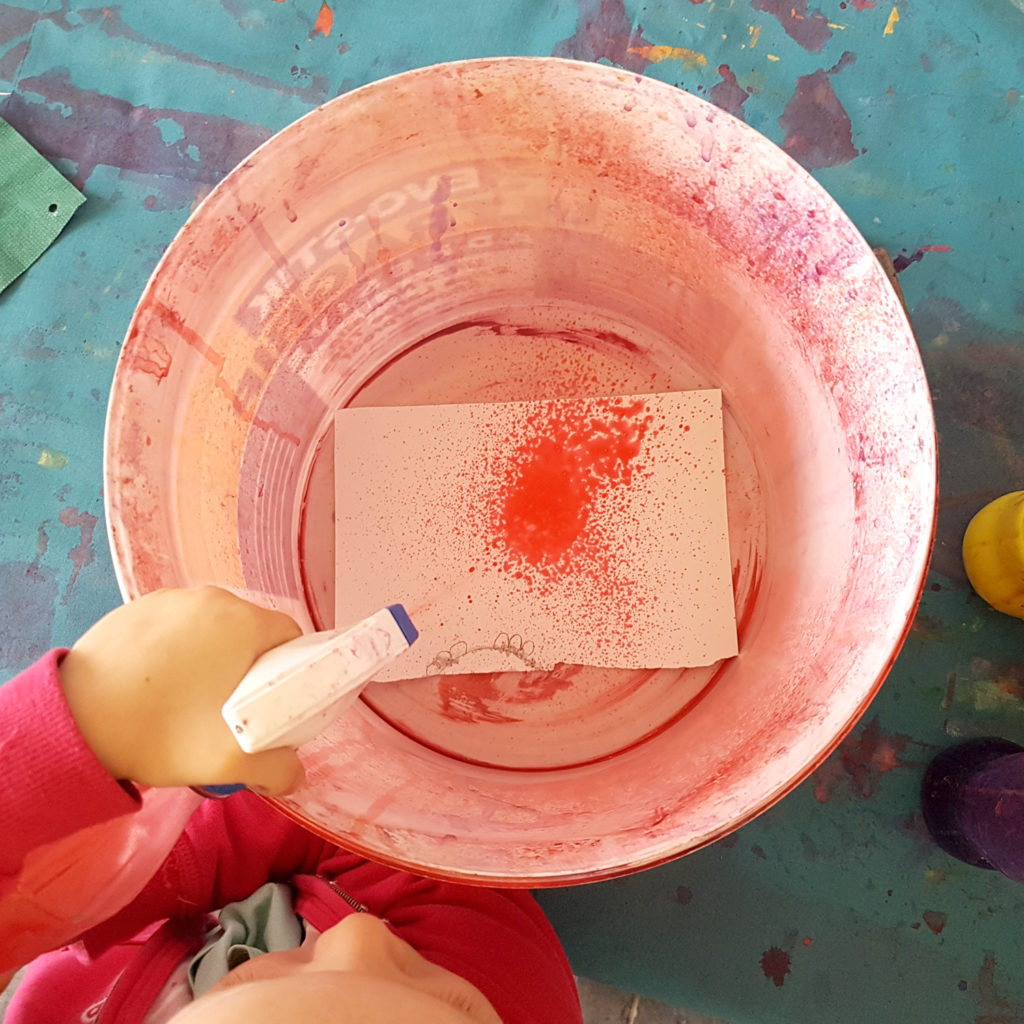
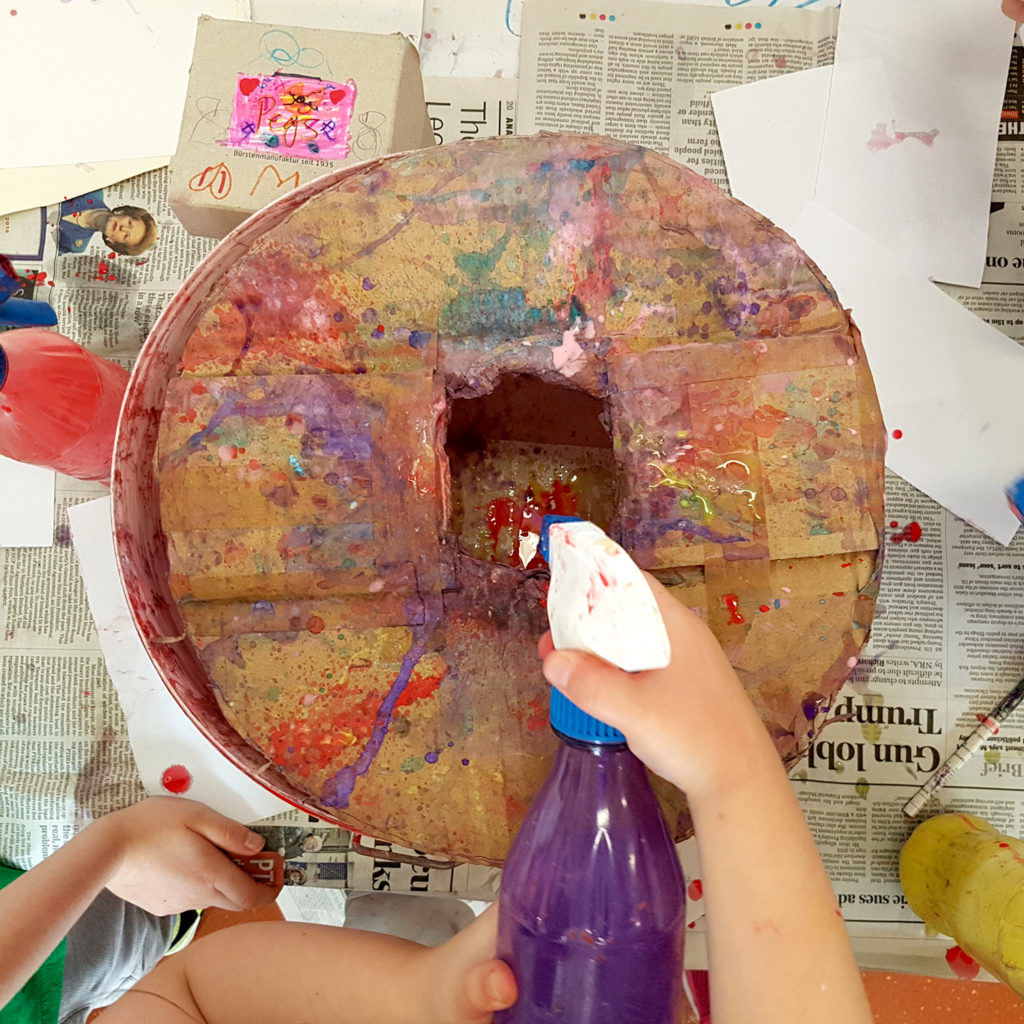
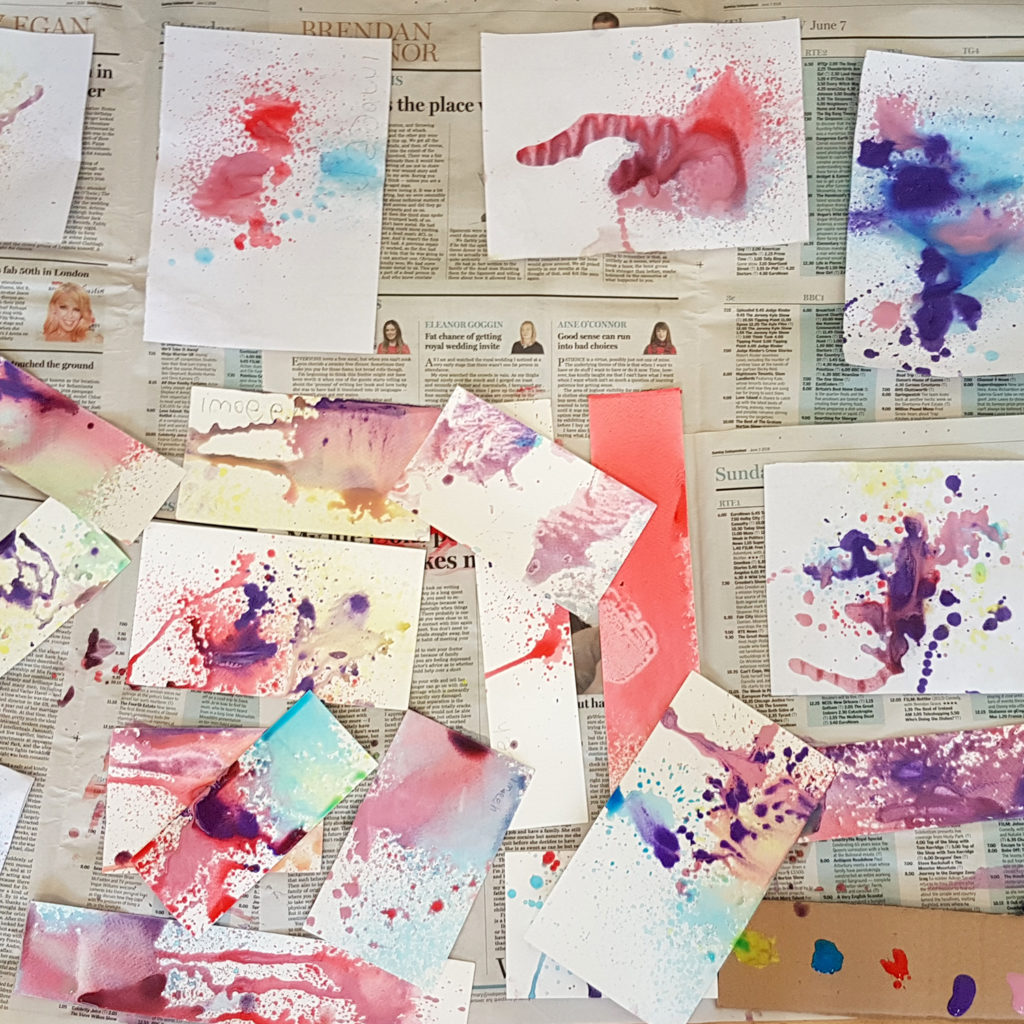
We used old spray bottles filled with a paint and water mix and created the coolest looking artwork.
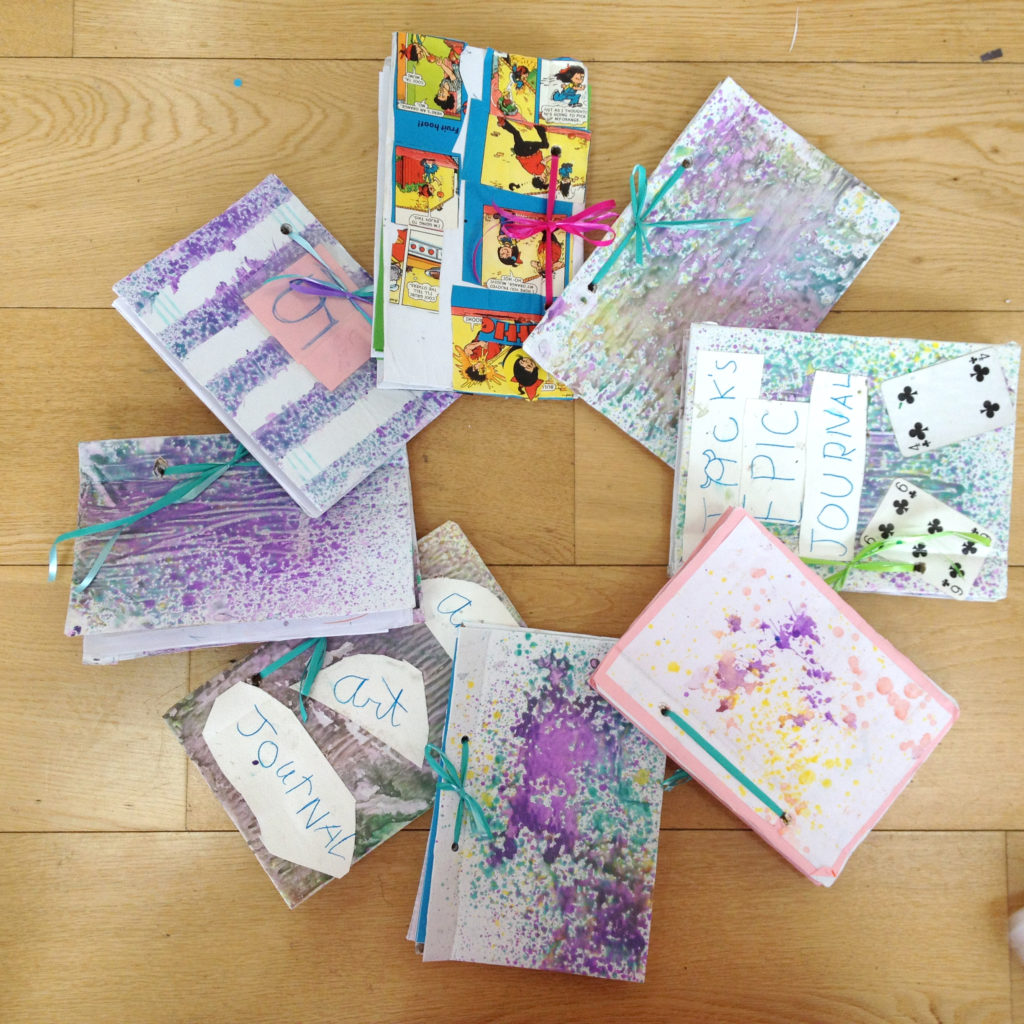
Our summer artists used their sprayed pieces in their houses, notebooks and free crafting projects. They were awesome
TIPS
Only spray three or four squirts of each colour onto your paper, less is better as you can always add more later.
Paper choice, go for a heavier paper, watercolour card works really well
When you are taking them out of the spray booth make sure the kids hold them at each side and pull out like they are holding a tray so that the paint stays in position

Sorry, the comment form is closed at this time.