30 Jul Craft Corner tutorial: How to make a stamped gift tag
I have used clear step by step instructions for this tutorial so that all ages can try it out. Suitable for children and adults
Your materials:
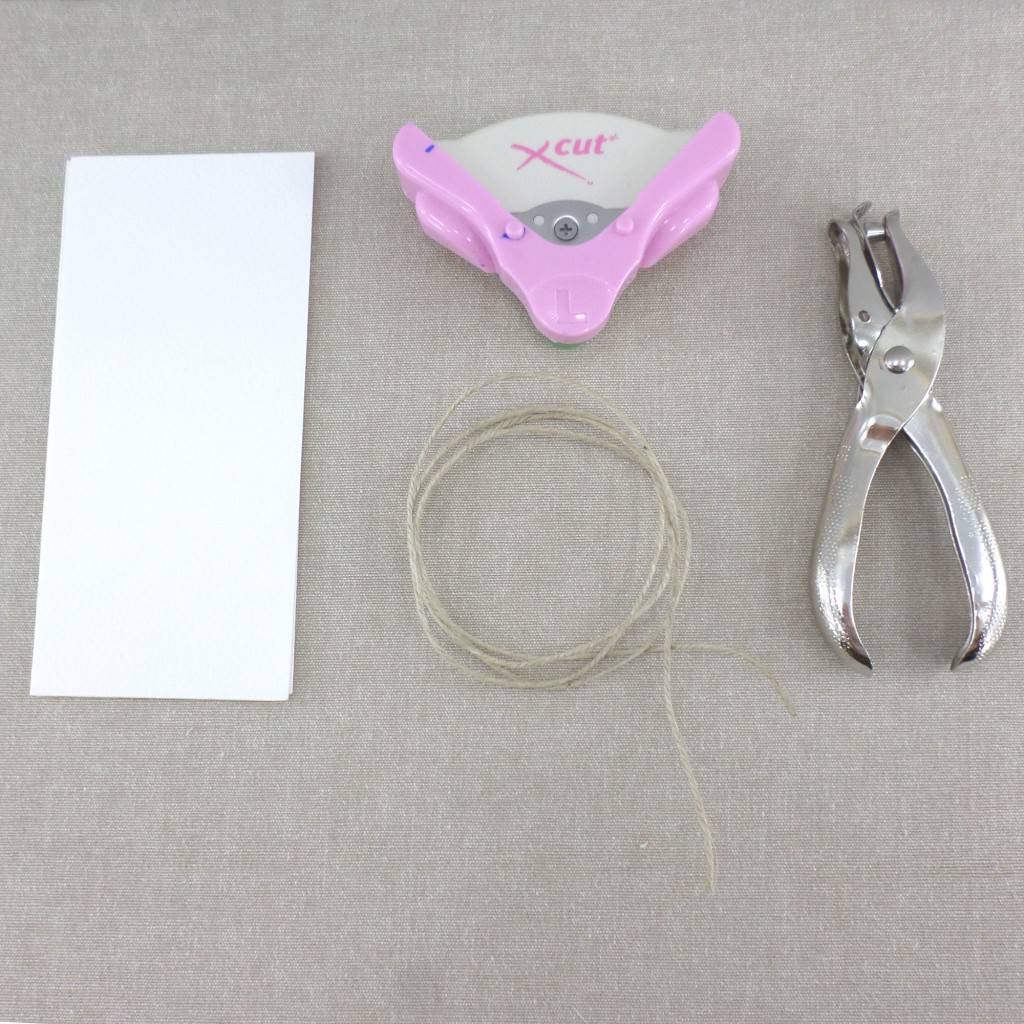
Card Stock/Watercolour Paper min 300 gsm
Twine or ribbon
Ink Pads – I like the Archival Ink brand here or the Adirondack ‘Ranger’ ink pads here. The Artline series are also good.
Stamps – You can buy these already attached to ‘backings’ or I tend to buy the stamps on sheets (like these ones), cut them out and then stick to blocks of timber
Sponge (Get dish sponges and cut up)
Corner punch (optional) This is the one that I use
Step 1:
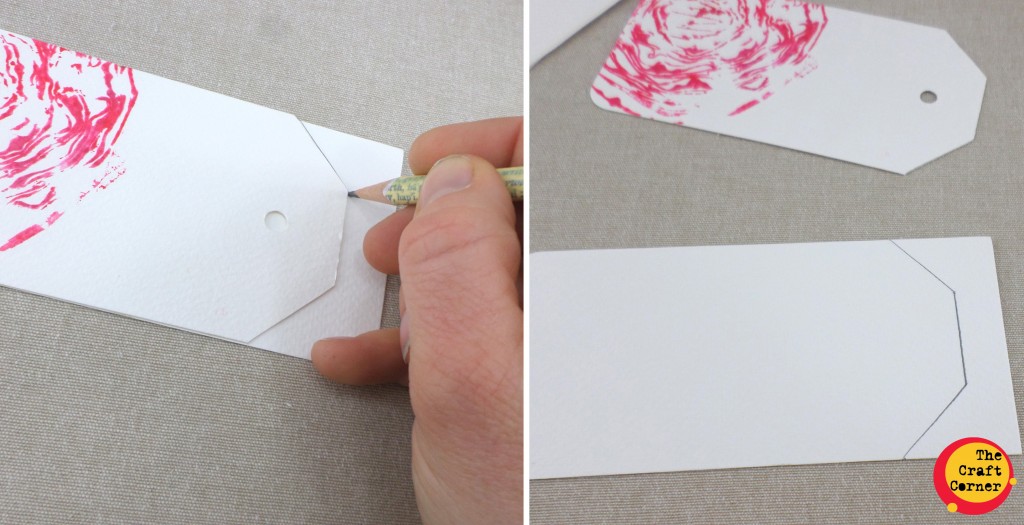
Download your template from here (pick which one you want to use), cut it out and trace around it onto a piece of your stock.
Step 2:
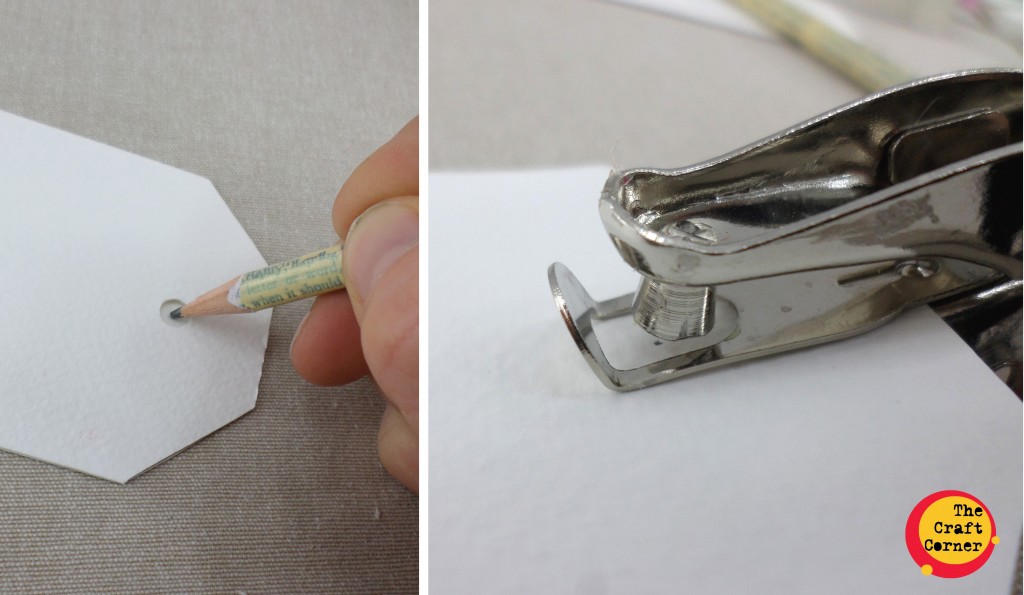
Once your template is traced onto your card stock, cut out and mark for your hole. Punch out with your hole punch I use this type.
Step 3:
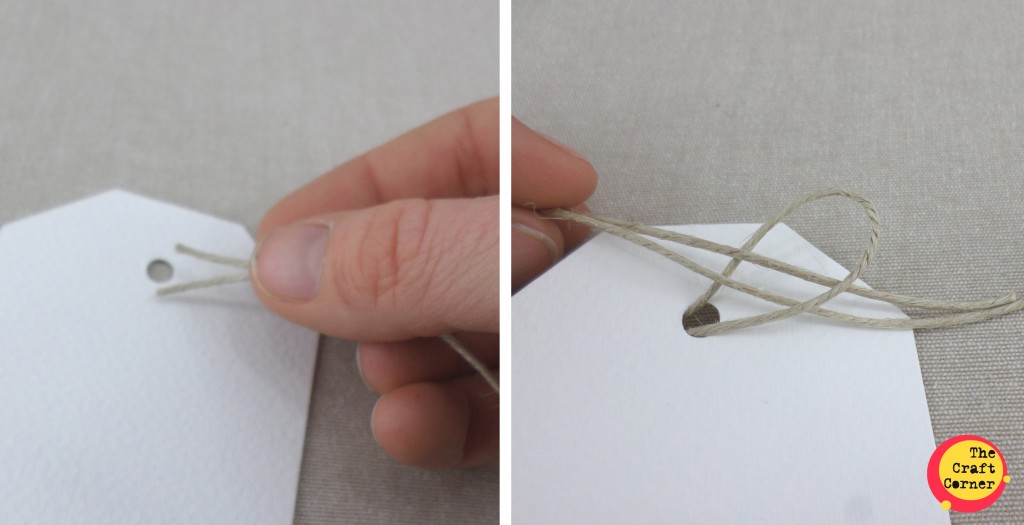
Cut your twine or ribbon to desired length (approx 20cm). Double up and push ends through the hole. Then pull ends through the loop (see photo below). Pull tightly.
Step 4:
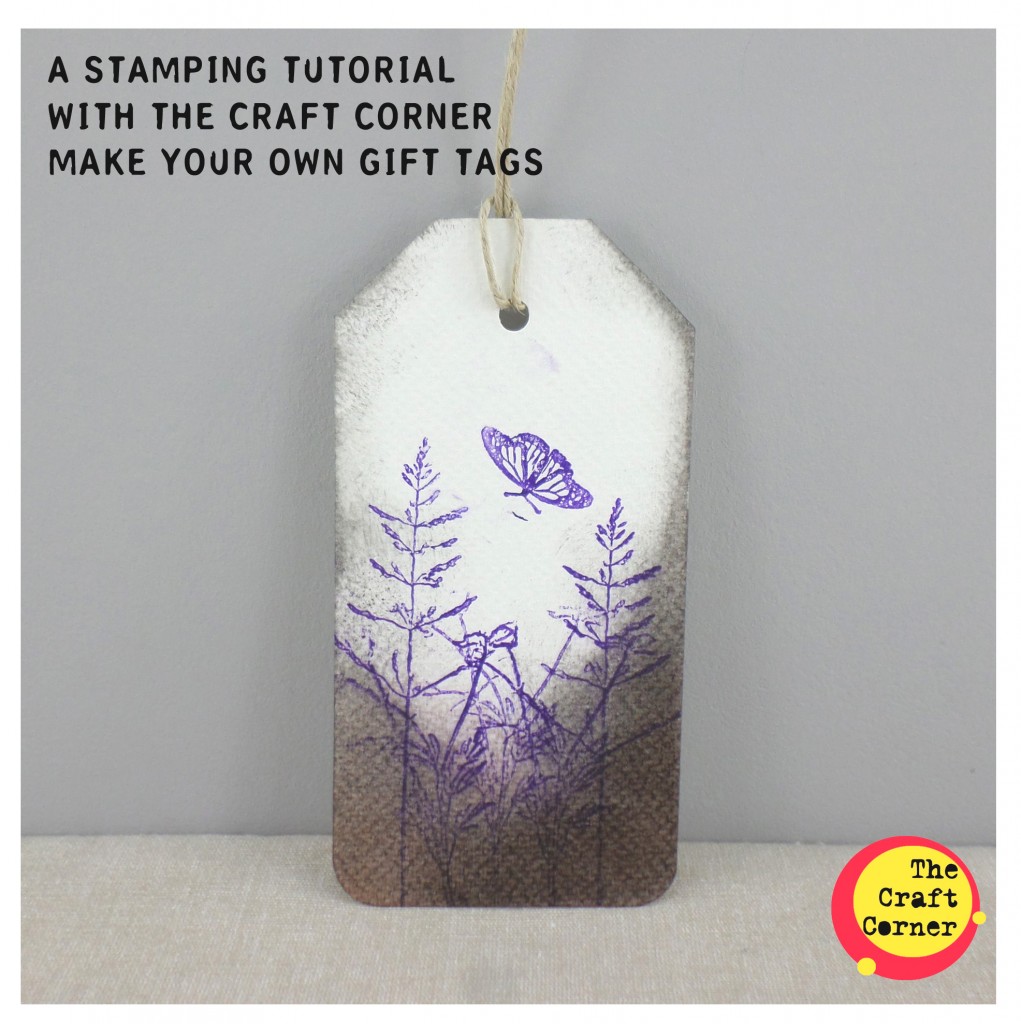
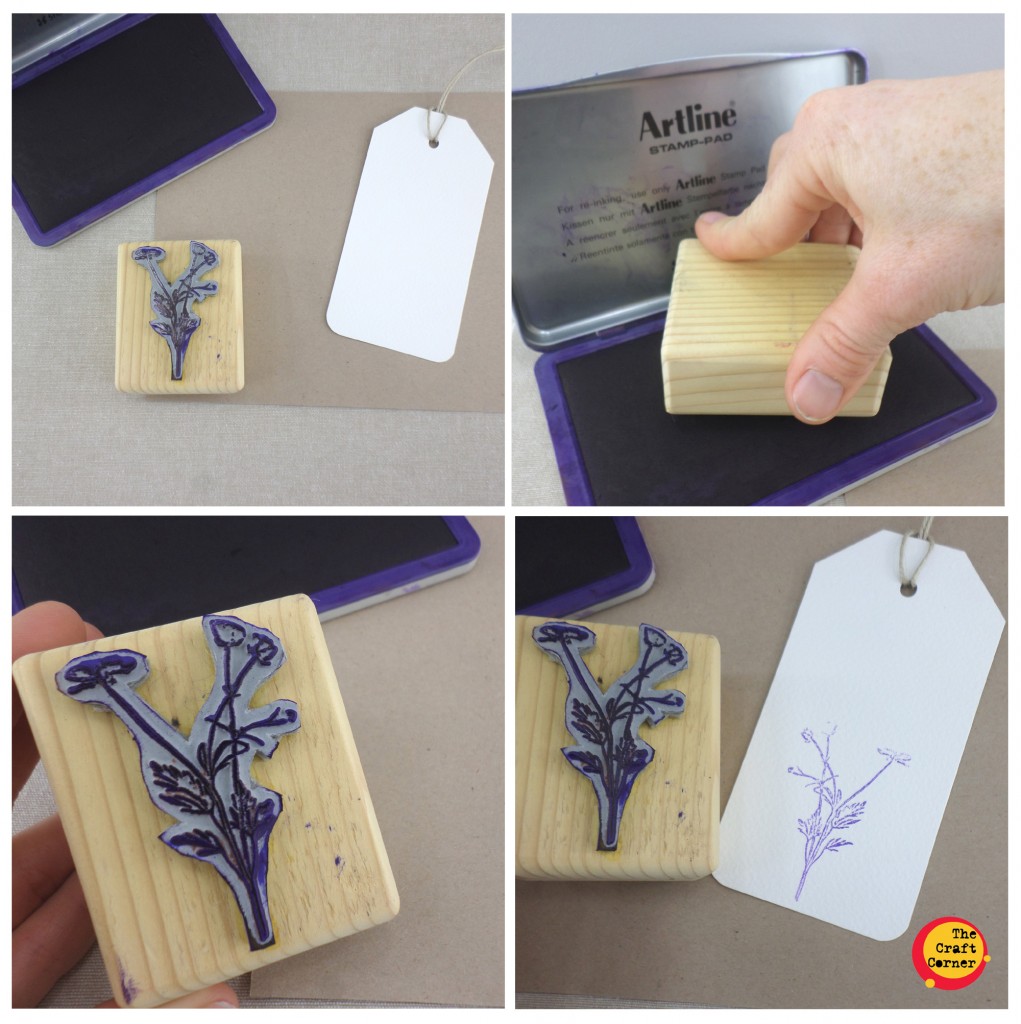
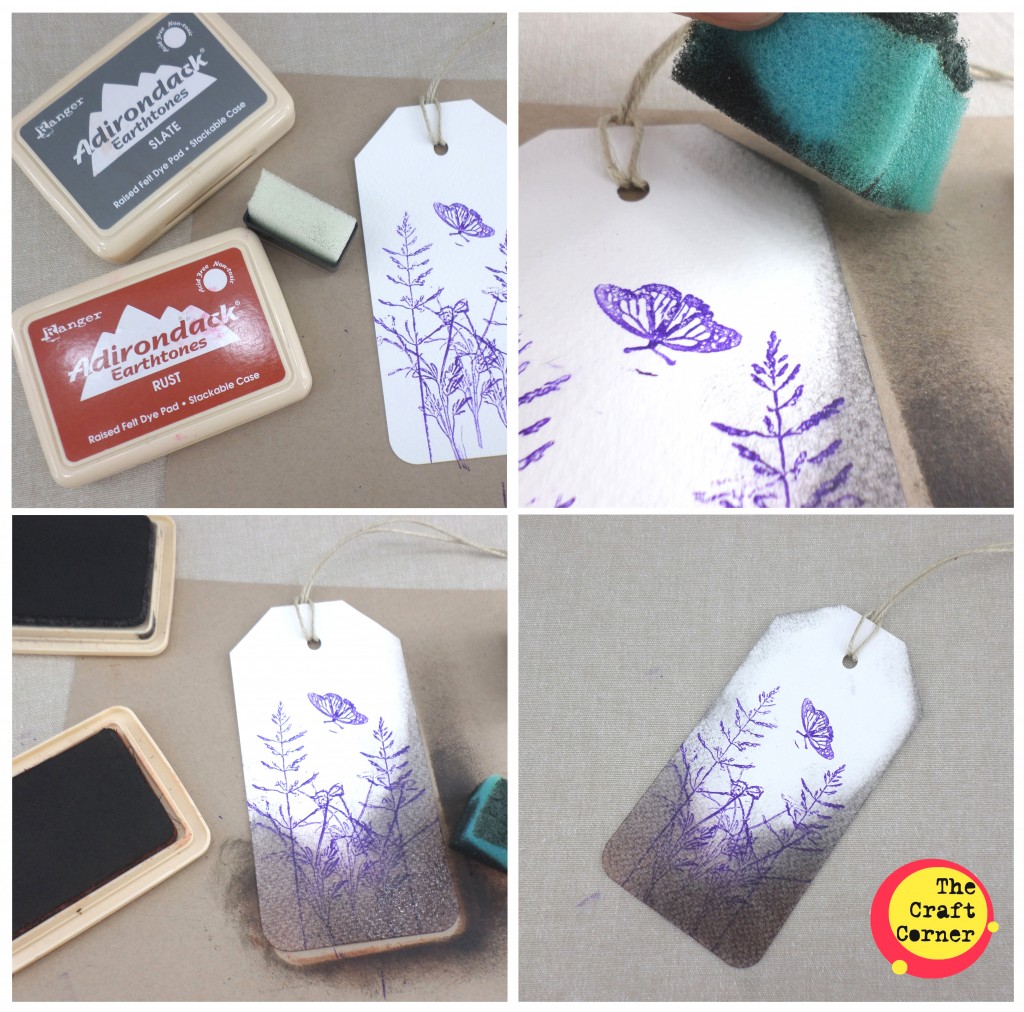
Get an old piece of card to do you stamping. Start with your base pattern, I used a series of flower stamps to create my background. You can stamp them using one colour stamp pad or use different colours for each stamp. See material list for the type of stamp pads I use. Make sure to put pressure evenly when stamping down to make sure you get a clear stamp.
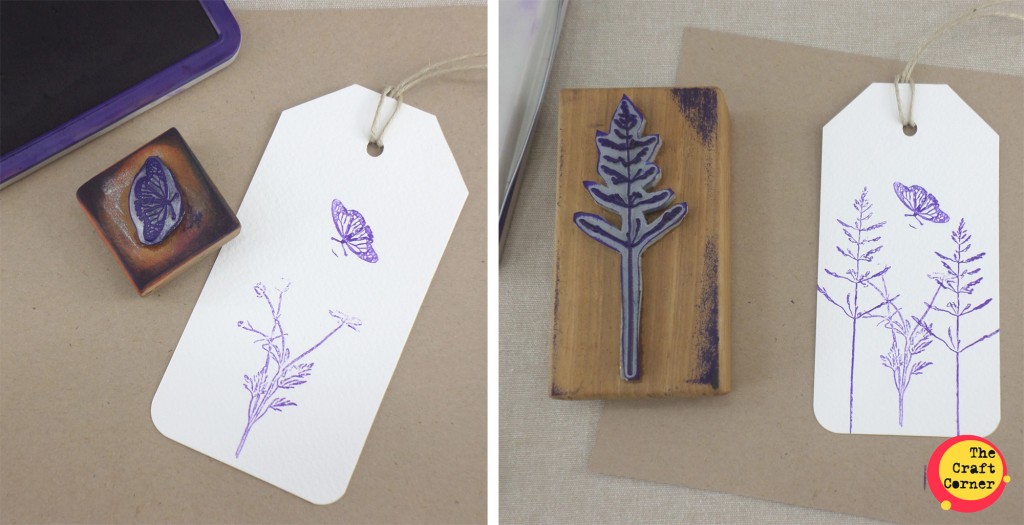
Build up your base layer of stamping. I add different plants and tree stamps and a butterfly.
Step 5:
Now it’s time to start working on your shading.
Choose a different colour ( I picked shades of brown and grey in the Adirondack inks) and a small sponge for each different ink.
This method can take a bit of practice so I would recommend practicing on a scrap or second tag before you go for it with your finished tag. Dab your sponge down lightly into the ink pad and start to brush it onto the tag. I worked from the outside in dabbing and brushing at the corners. Work with light touches and you can darken as you go. Change up colours to add shadows and you can blend together. Go darker at the bottom of your tag and very light at the top.
And there you have it!
You can adapt this tutorial to create the most amazing cards and artwork. Give the gift of something handmade and it will be treasured forever.

Sorry, the comment form is closed at this time.